This post may contain affiliate marketing links. Please read my disclosure policy.
Making your own homemade bone broth It’s so easy and so affordable, you’ll wonder why you ever bought store bought! Made with essentially free-range ingredients, you’re only hours away from this nutritious pantry staple.
But first, what is bone broth?
bone broth Gained popularity in recent years due to its many health benefits. It is rich in nutrients and minerals such as collagen, gelatin and amino acids, which can help support joint health, improve digestion and strengthen the immune system. It is also a great source of minerals such as calcium, magnesium and phosphorus.
Making your own bone broth at home is a simple process, and it can be a great way to use up leftover bones and vegetables.
Can I use any kind of bones to make bone broth?
Yes, you can use a variety of bones to make bone broth, including chicken, beef, lamb, pork and more. Different types of bones will give the soup different flavors and nutritional profiles.
What kind of leftovers do I save for bone broth?
I highly recommend keeping a bag or container in your freezer Save your kitchen scraps and bones. I keep mine in a freezer bag and add to it all the time while I cook meals. Not all vegetables work well in soup, so I limit the bits I only keep Onion, shallot, leek, garlic, carrot, celery and fresh herbs such as parsley, oregano, thyme, etc.. When a recipe calls for onions, don’t throw away the skins or root… save it! Same with all the other vegetables and herbs I listed. If you notice your celery is getting a little limp, throw it in the freezer for your next batch of soup! Zero food waste! Other leftovers not listed here can be saved for vegetable stock, but the ones in my recipe are best for bone broth.
What does adding vinegar to bone broth do?
Vinegar is often added to bone broth because it helps extract the nutrients, minerals, and collagen from the bones and connective tissues. The acidity of the vinegar helps break down the collagen and make it more bioavailable.
Should I add salt to my bone broth?
I don’t add salt to my bone broth until I’m ready to use it as a soup or in a recipe. Feel free to salt your bone broth as you cook it, but since I never know what recipe I’ll be using it for, I prefer to keep it unsalted until ready to use.
How to make homemade bone broth
This recipe is made by boiling on the stove, but I’ve also included Instant Pot and Slow Cooker instructions. For full recipe details, including ingredients I used, see the printable recipe card below.
Preparing bones (if not cooked)
If bones are not cooked, place in a roasting pan with Oil and grill on 425°F for 45 minutes or until well browned.
If bones are already cooked, simply place in a Large stock pot.

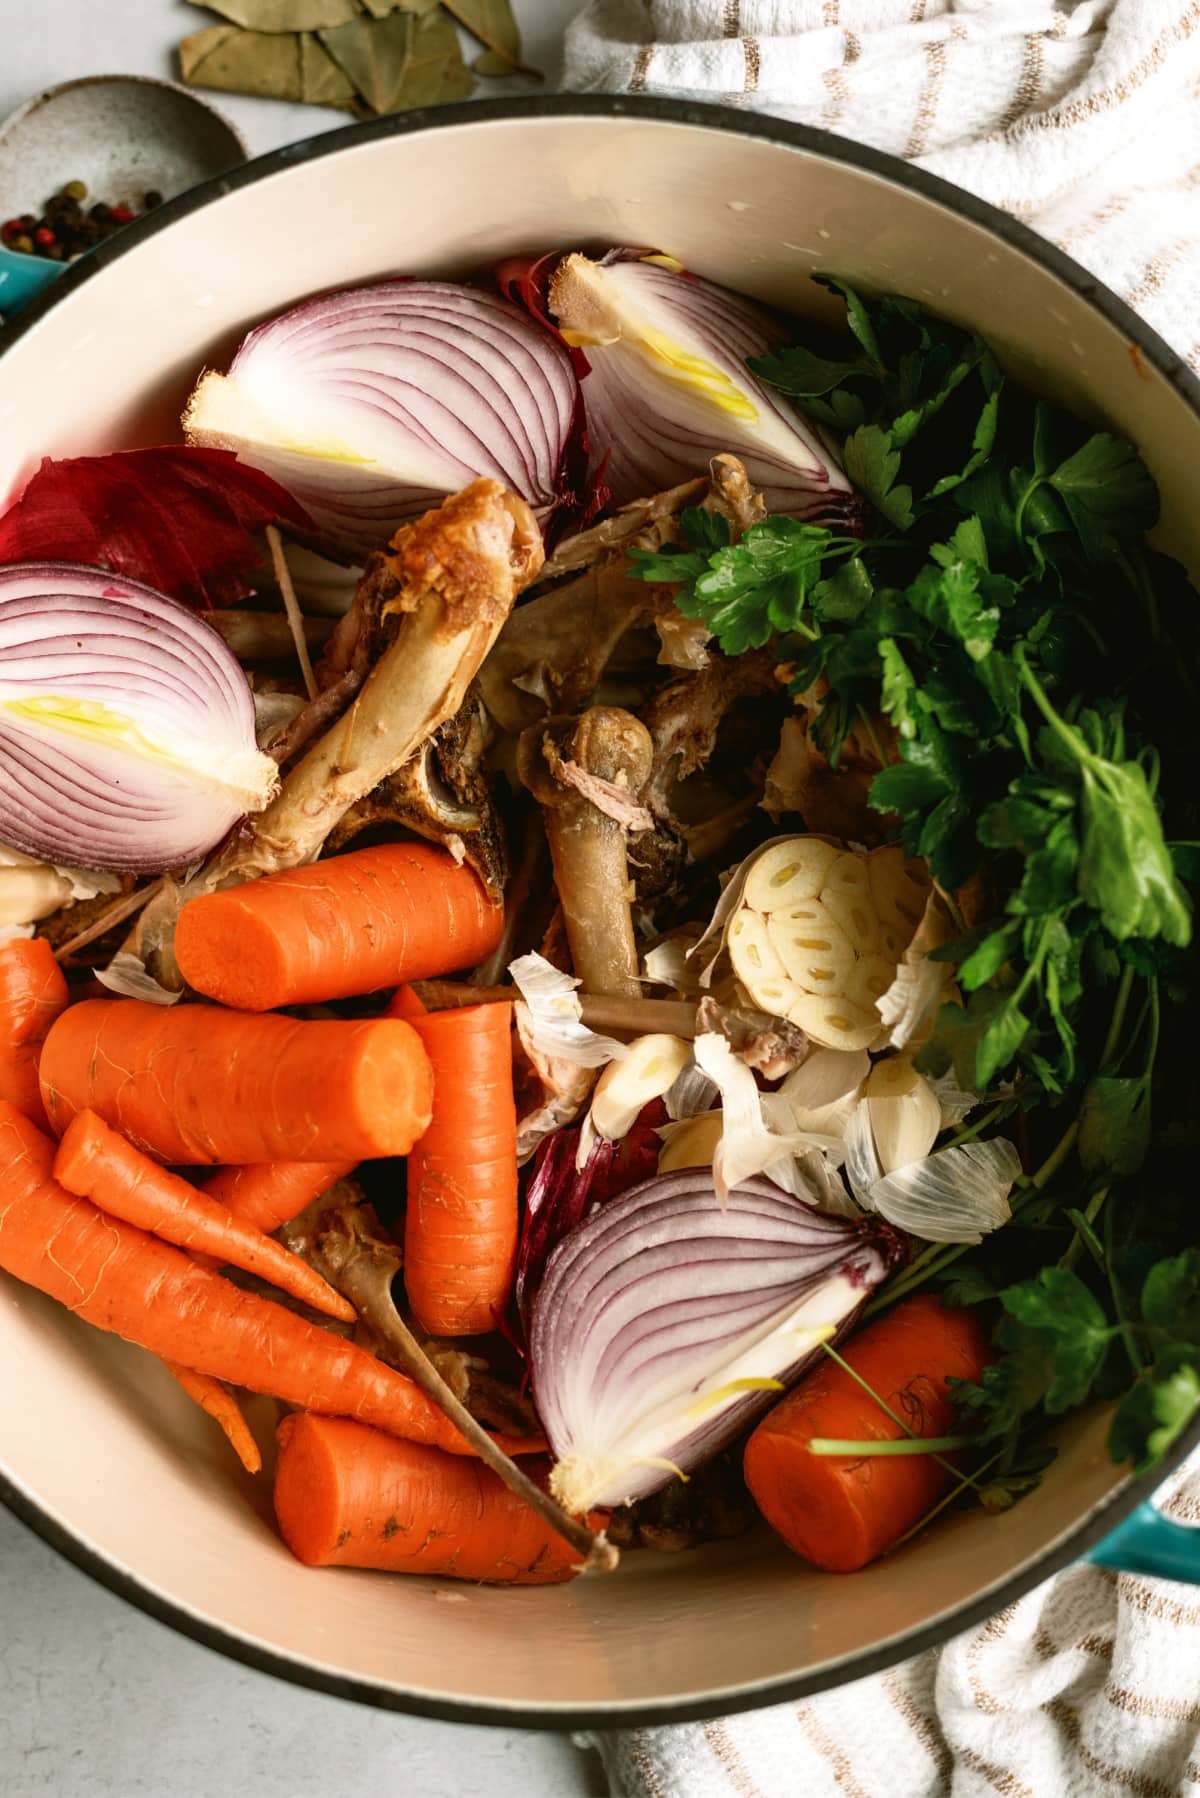
Add vegetables to the pot, cover with water and bring to a boil
add All vegetables, herbs/spices and Vinegar to pot and Cover with water. You are invited to experiment with different vegetables and spices to find the combination you like best.
bring to a boilThen lower the heat to a boil.
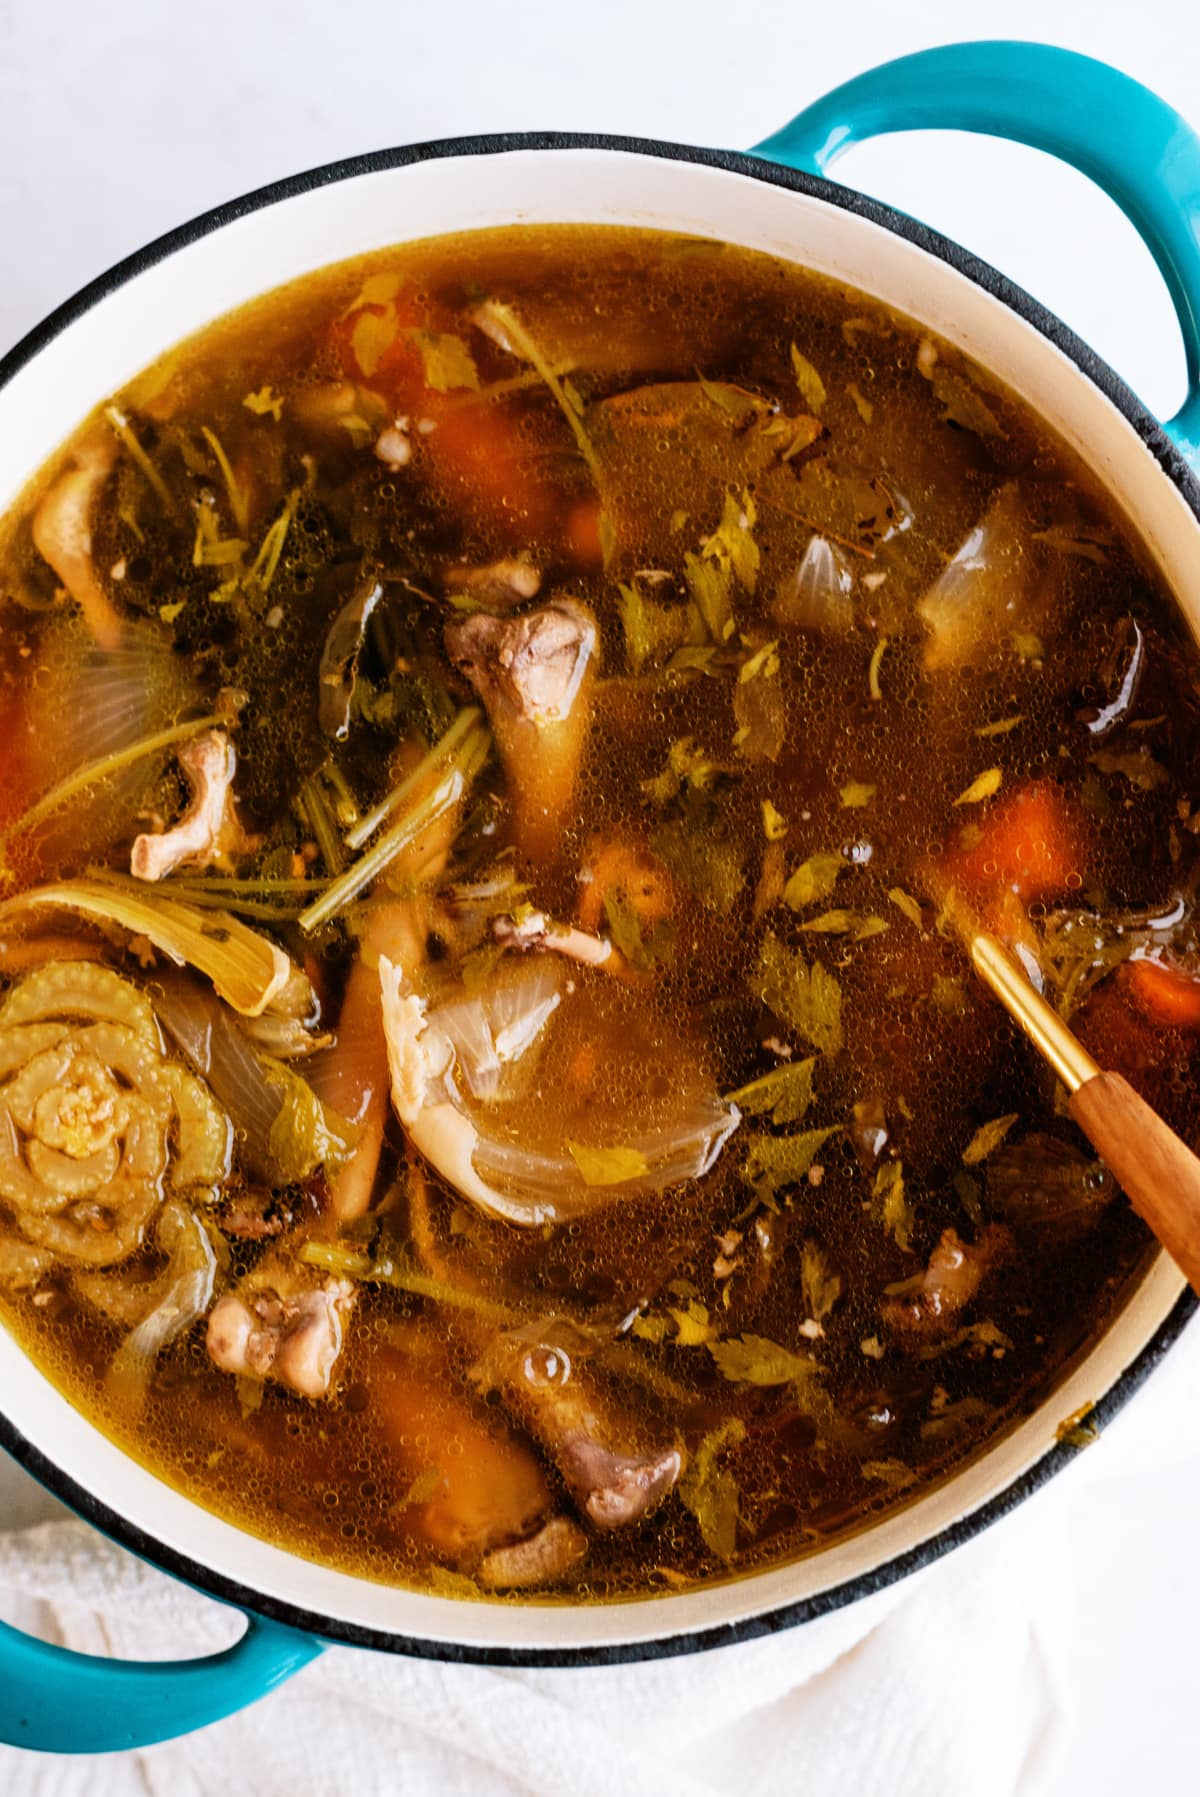
cook on low
Cook on low for anywhere between 24-48 hours. Some recipes say you have to maintain a certain temperature to preserve the gelatin, but I’ve found that just keeping it at a low simmer does the trick and the soup sets quite well.
This can also be done in a slow cooker on low. See below for slow cooker and instant pot instructions.
How long should I cook the soup?
The longer you cook the soup, the more flavorful and nutrient dense it will become. I recommend cooking the soup for at least 12 hours, but you can cook it for up to 48 hours for a more concentrated soup. Add more water as needed.
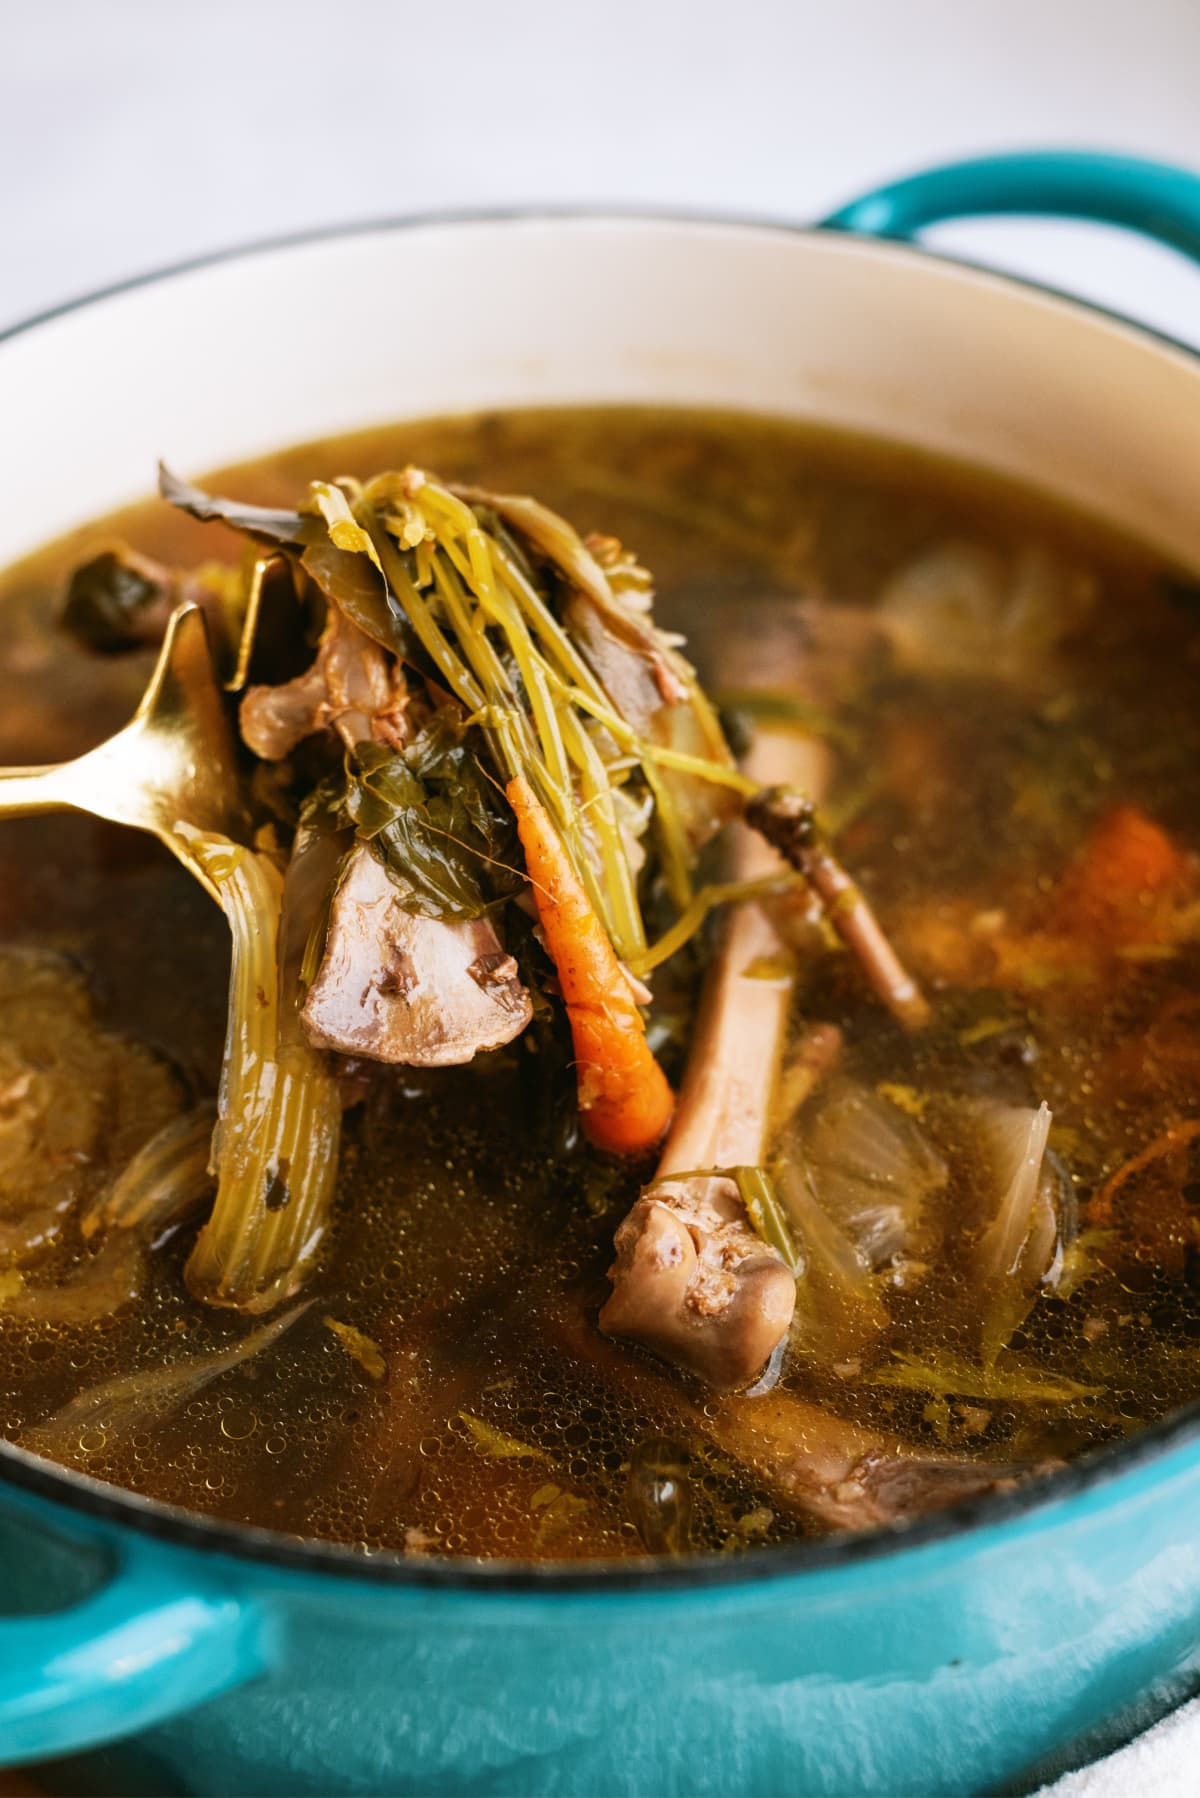
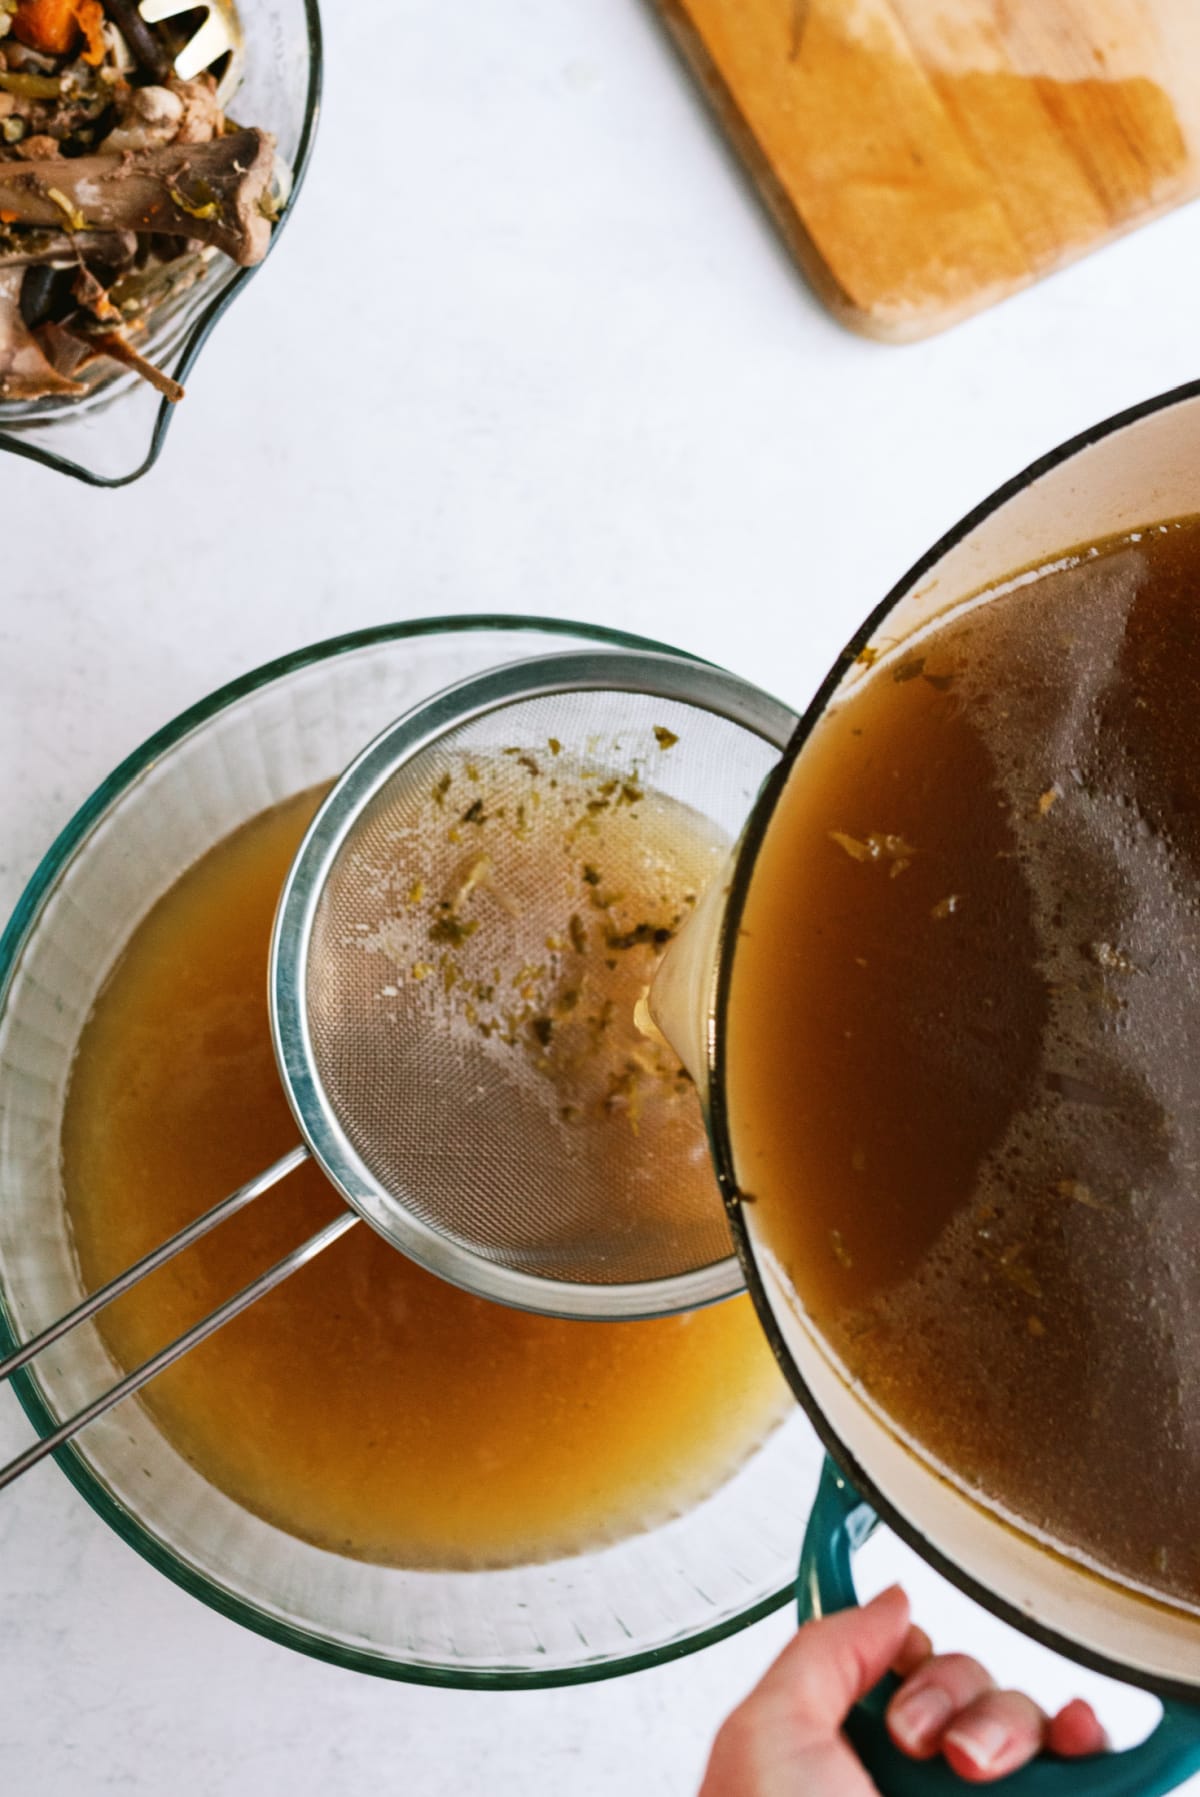
Strain broth
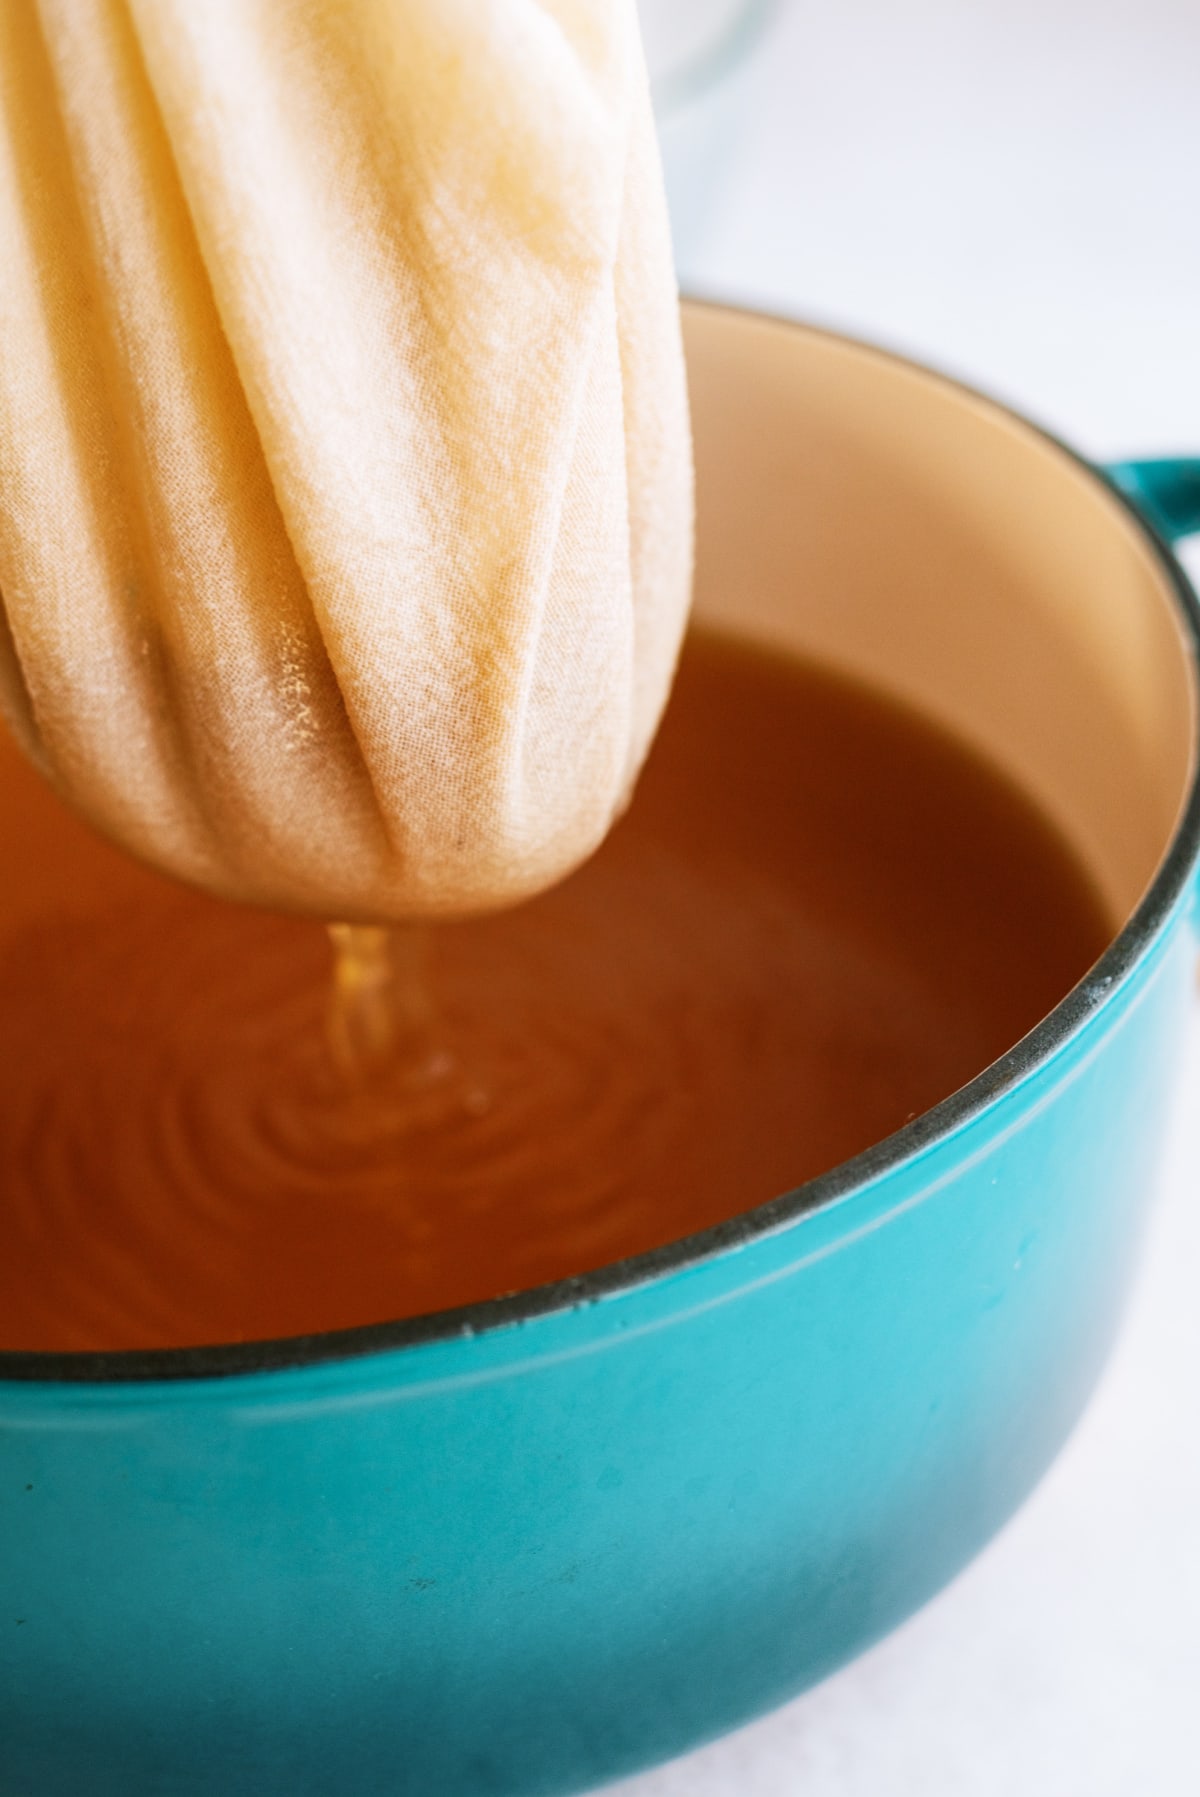
Filter the broth fine mesh strainer into a large bowl. Strain the soup again into another large bowl with a A flour sack towel filter out all impurities.
optional: Before pouring into mason jars, you can use Fat separator Filter the fat before storing in jars. The easiest way to strain extra fat is to refrigerate and it will solidify at the top of the jar for easy removal. Use fat for cooking!
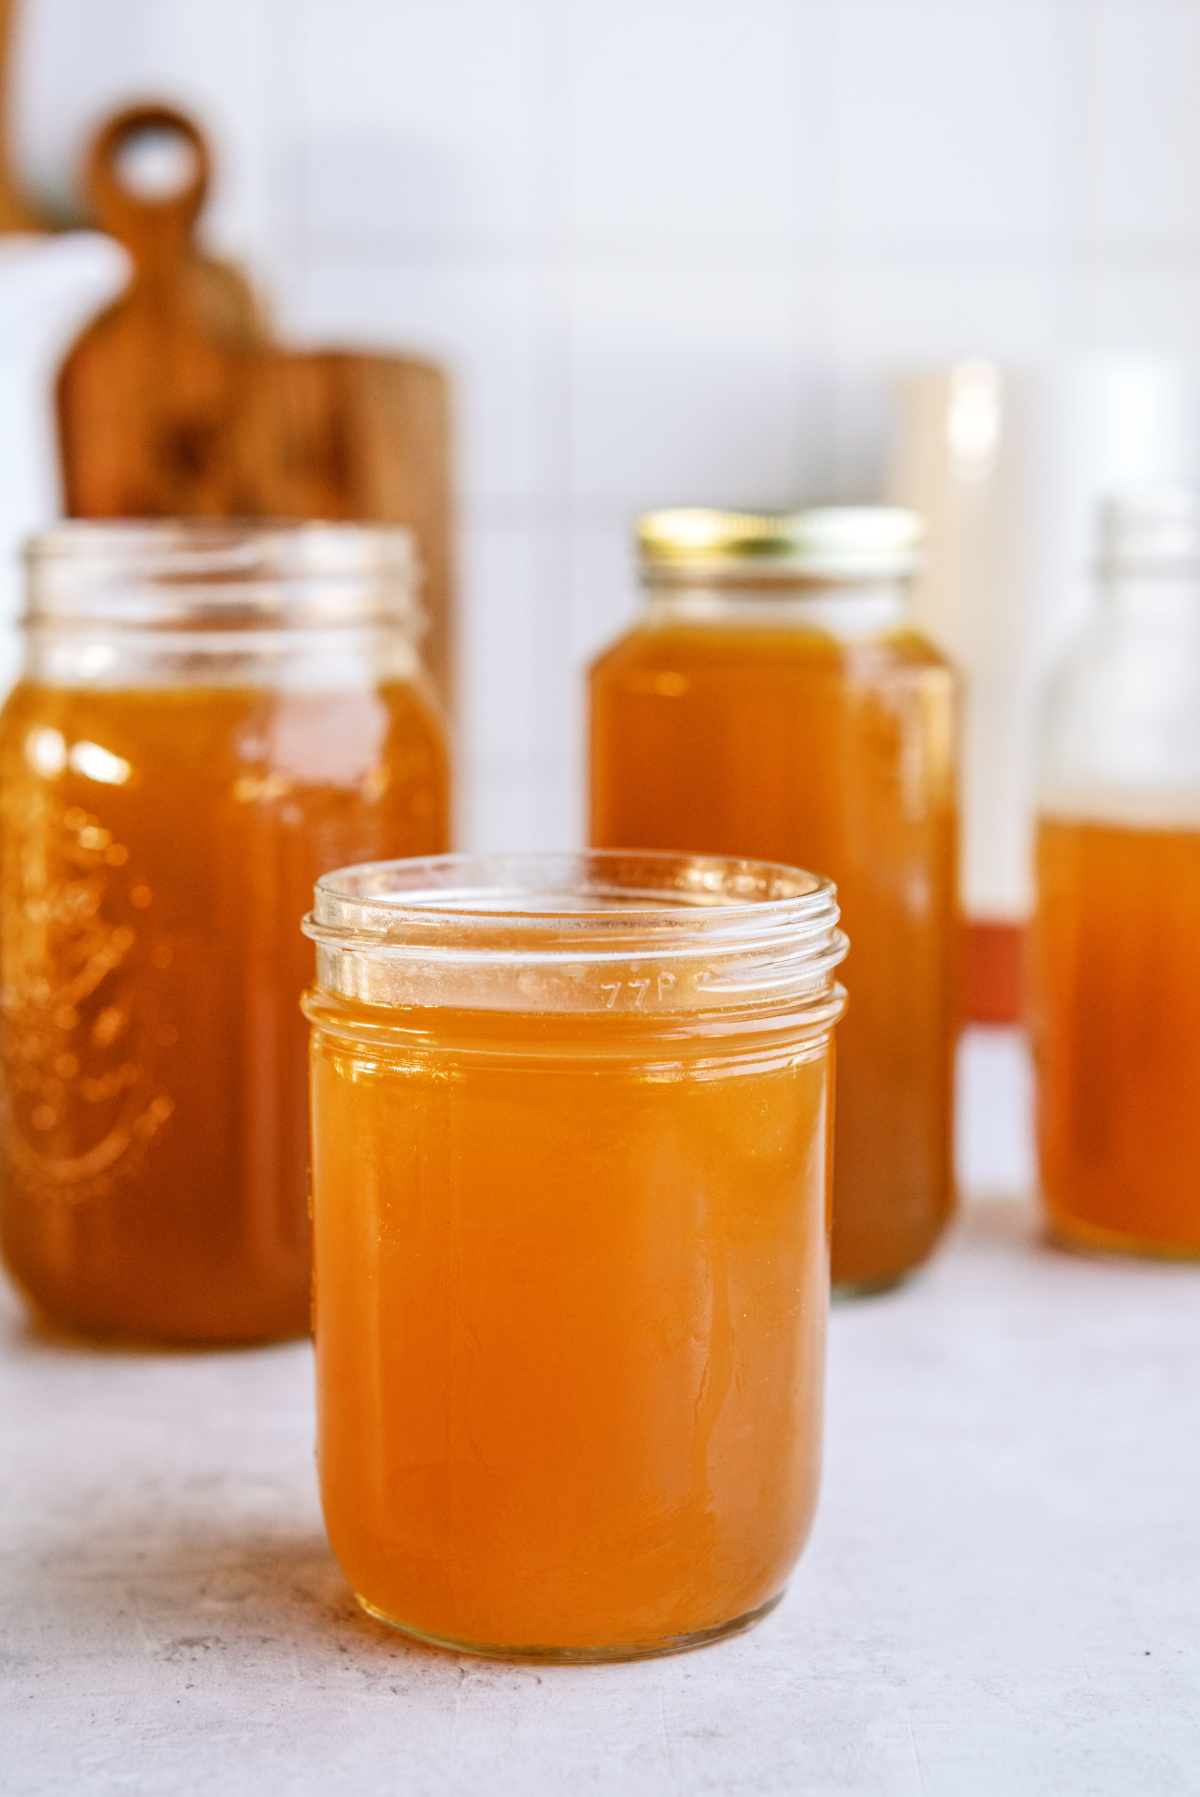
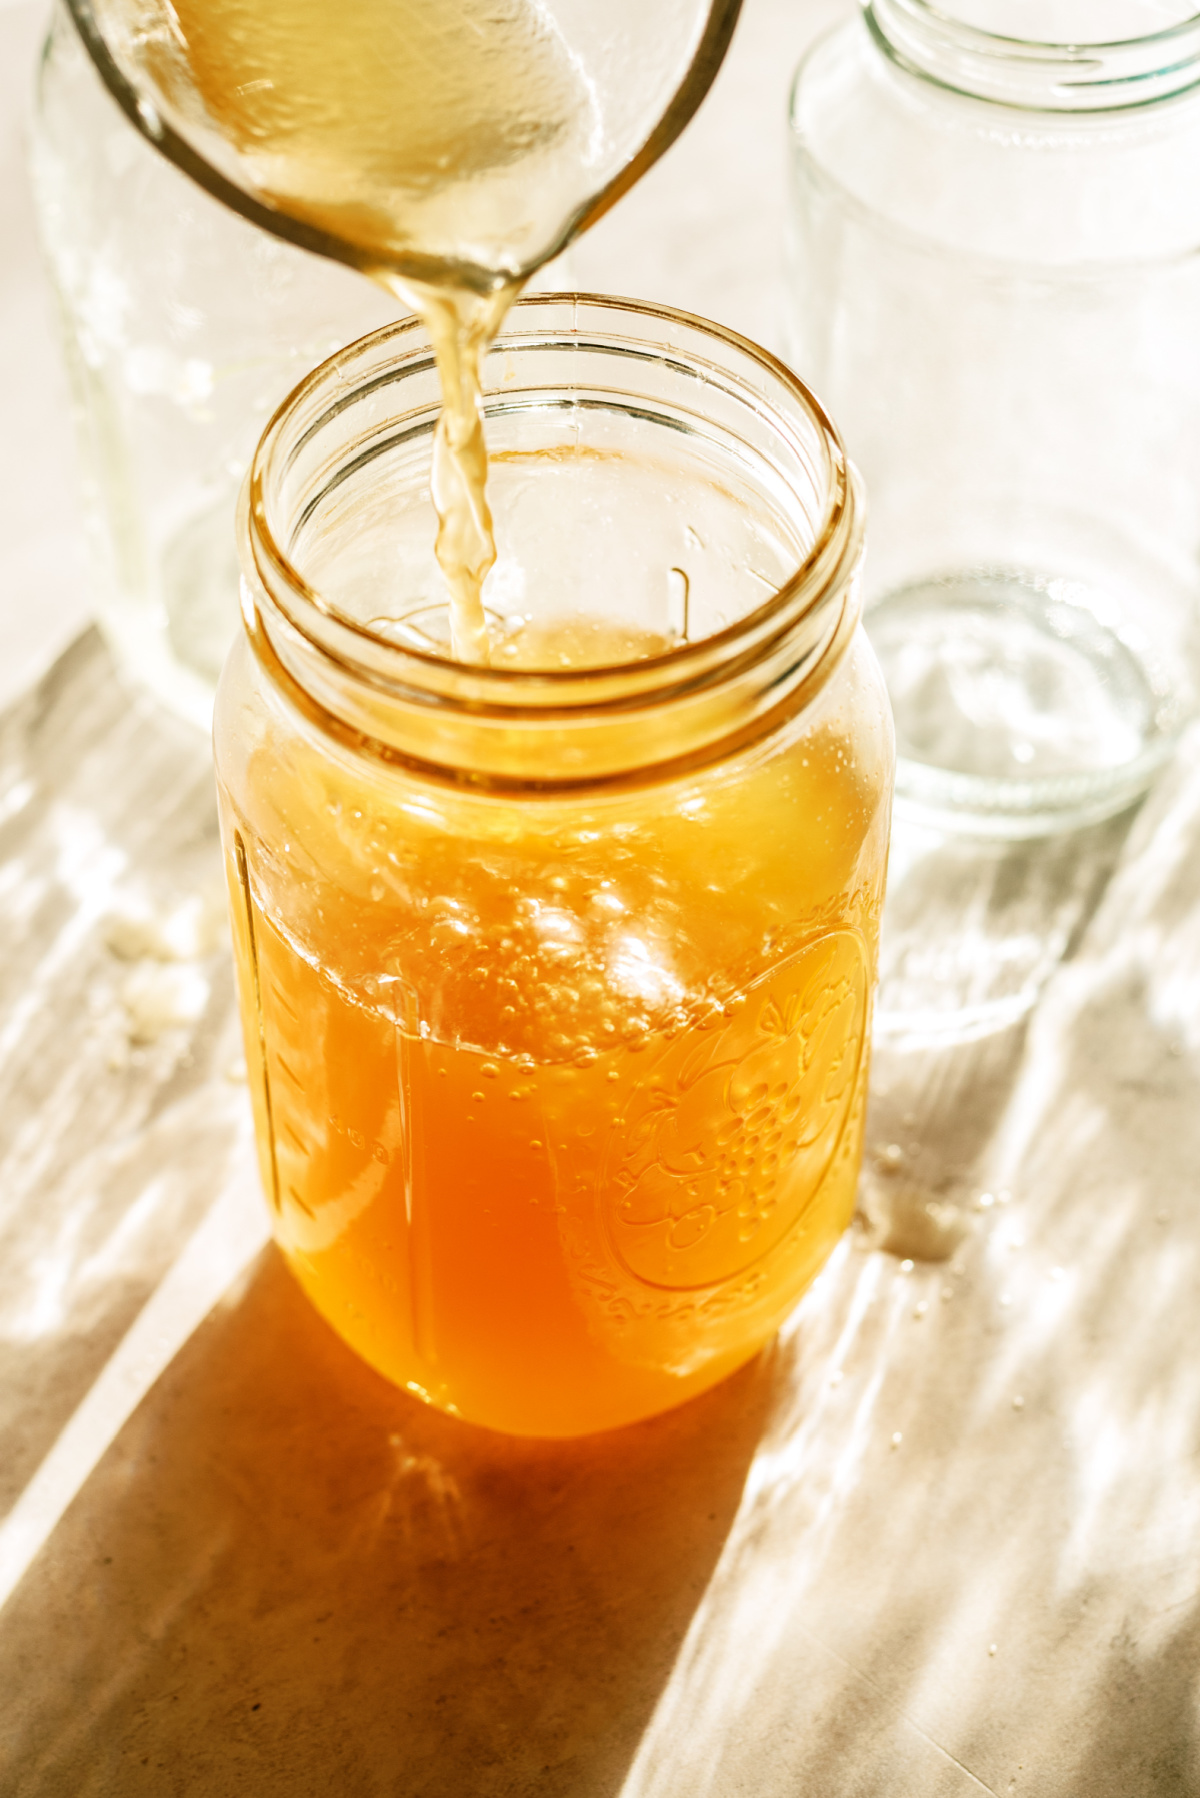
Store in mason jars + refrigerator
Allow the soup to cool for a few minutes. to spill meat soup into Mason jars or plastic liter containers and keep in the fridge.
Ways to use bone broth
Your nutritious bone broth is now ready to enjoy! It can be used as a base for soups and stews, or sipped alone as a healthy and flavorful drink. You can also add it to sauces, soups and other dishes for an extra boost of flavor and nutrition.
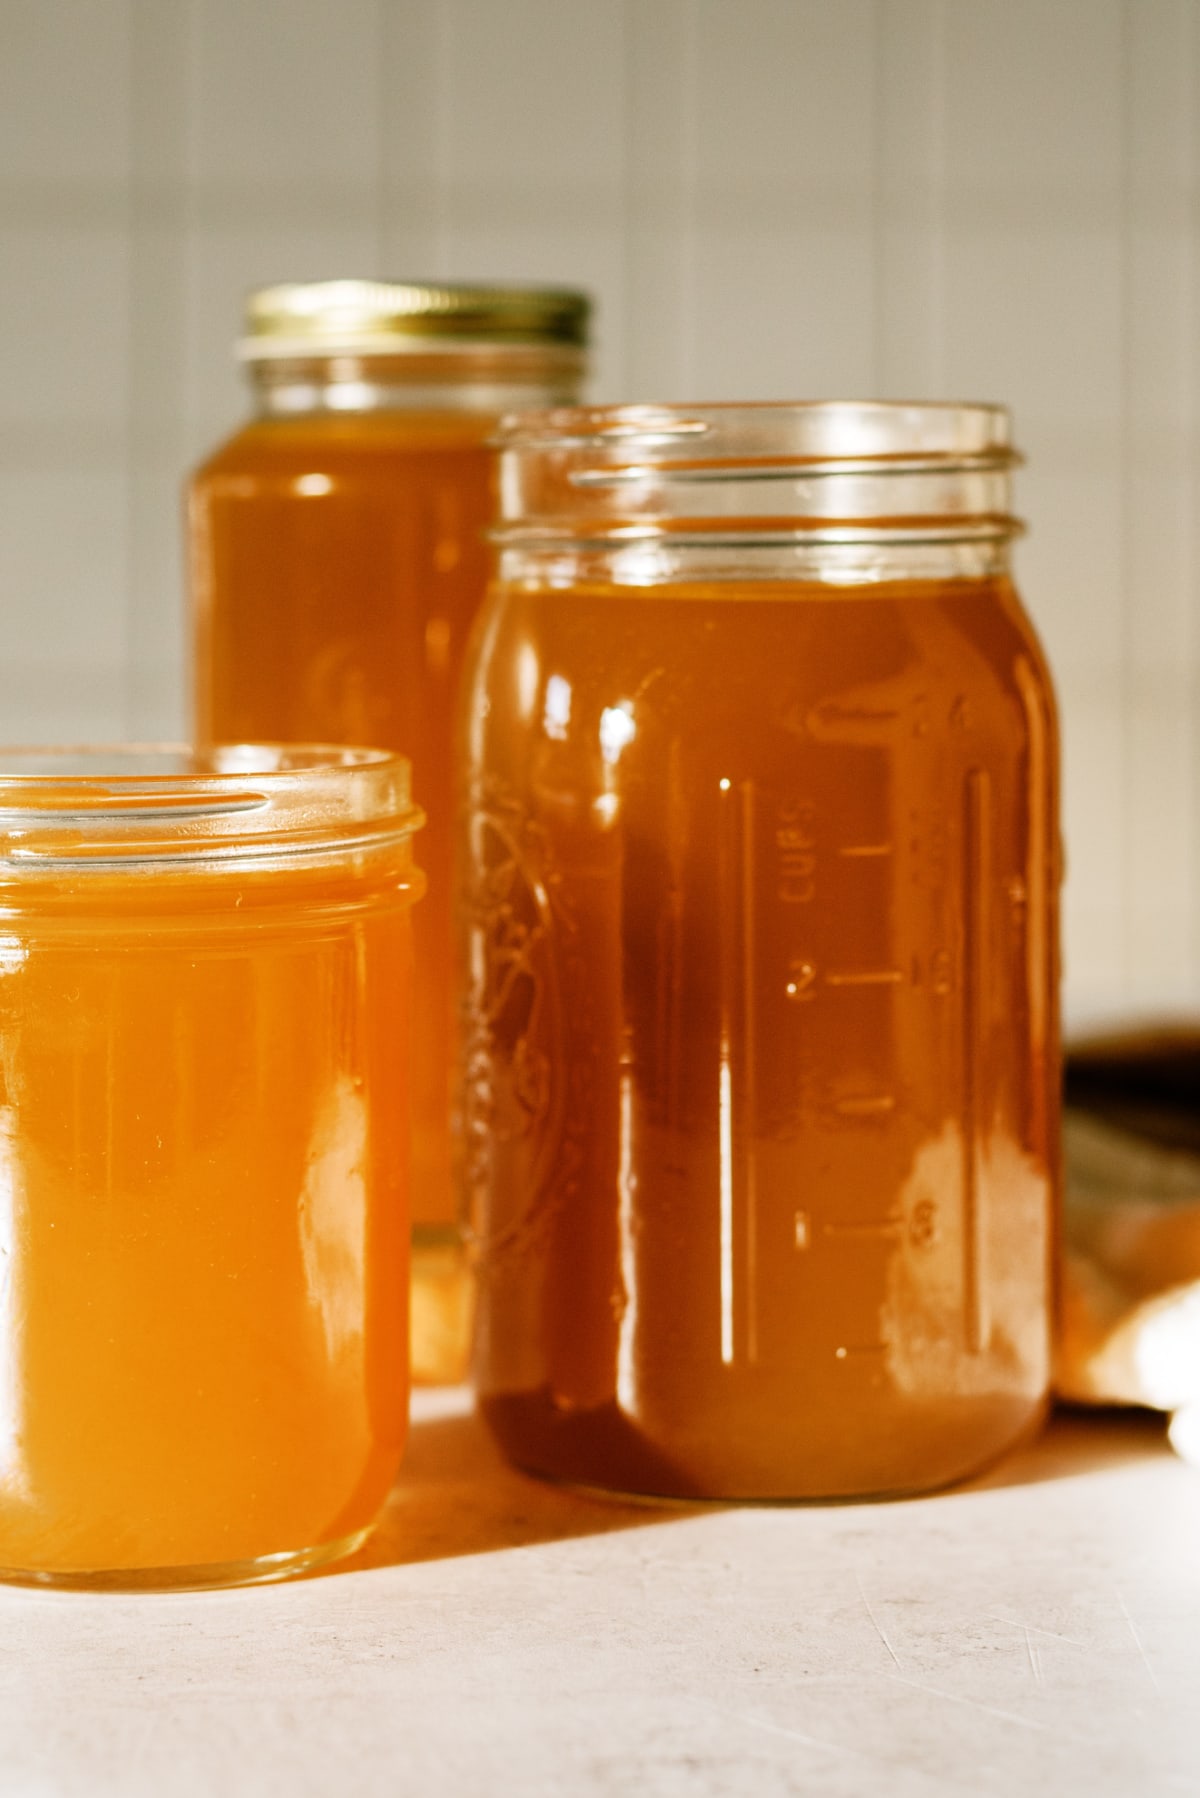
Bone broth storage
After making the bone broth, let it cool a little and then transfer it to containers and store in the refrigerator or freezer until use. It can be stored in Refrigerate for up to 5 days or in the freezer for up to 6 months.
If you are going to freeze your bone broth, be sure to use airtight, freezer-safe plastic containers. Also be sure to leave some headroom to allow for expansion.
Instant Pot + Directional Slow Cooker
I like to make bone broth on the stove, but I know others prefer to use their Instant Pot or Slow Cooker. I have included instructions for these methods:
Instant Pot Instructions:
- Preheat the oven to 425°F (200°C).
- Place the bones on a tray with baking paper and roast in the oven for 45 minutes, or until they are well browned.
- Transfer the roasted bones to the instant pot.
- Add the vinegar to the pot and let it sit for a few minutes to help extract the minerals from the bones.
- Add the vegetables, bay leaves, peppercorns and enough water to cover the bones.
- Tighten the lid on the Instant Pot and set it to the “soup” setting for 120 minutes.
- After the cooking time is complete, allow the pressure to release naturally for at least 10 minutes before carefully releasing any remaining pressure.
- Strain the soup through a fine sieve and discard the solids.
- Allow the soup to cool slightly, then transfer it to containers and store in the refrigerator or freezer until use.
Instructions for slow cooking:
- Preheat the oven to 425°F (200°C).
- Place the bones on a tray with baking paper and roast in the oven for 45 minutes or until they are well browned.
- Transfer the roasted bones to the slow cooker.
- Add the vinegar to the pot and let it sit for a few minutes to help extract the minerals from the bones.
- Add the vegetables, bay leaves, peppercorns and enough water to cover the bones.
- Tighten the lid on the slow cooker and set it to “low” for 12-24 hours.
- Strain the soup through a fine sieve and discard the solids.
- Allow the soup to cool slightly, then transfer it to containers and store in the refrigerator or freezer until use.
Recipes to try using bone broth!
I hope you try this recipe and enjoy the benefits of homemade bone broth. Let me know in the comments if you have any questions or tips for making the perfect bone broth.
The printable recipe card is below. Have a wonderful day friends! 🙂
Bone broth recipe
Making homemade bone broth is so easy and so affordable, you’ll wonder why you ever bought the store-bought stuff! Made with essentially free-range ingredients, you’re only hours away from this nutritious pantry staple.
Component
- bones Chicken, turkey, beef, lamb, pork, etc. (or chicken legs)
- onions including skins
- garlic including paper
- carrots
- celery
- parsley
- black pepper play it by ear (1-2 tablespoons)
- 4-6 Bay leaves
- 2 tablespoon Distilled vinegar
Or use kitchen scraps – keep in a ziplock bag in the freezer for up to 3 months and then turn into bone broth
- Save all the bones from dinners
- Save all the leftovers, onions, garlic, carrots, celery, parsley and other herbs from cooking
Instructions
-
If the bones are not cooked, place in a roasting pan with oil and roast at 425 degrees Celsius for 45 minutes, or until well browned.
-
If the bones are already cooked, simply place in a large stock pot
-
Add all the vegetables, herbs/spices and vinegar to the pot and cover with water
-
Bring to a boil, then lower the heat to a simmer
-
Cook on low for anywhere between 24-48 hours (this can also be done in a crockpot on low)
-
Strain the soup through a fine sieve into a large bowl
-
Strain the soup again into another large bowl with a flour sack towel to filter out any impurities
-
Pour soup into mason jars or plastic quart containers and store in the refrigerator for up to two weeks
-
Optional: Before pouring into mason jars, you can use a fat separator to strain the fat before storing in the jars. The easiest way to strain extra fat is to refrigerate and it will solidify at the top of the jar for easy removal. Use fat for cooking!
-
Freeze for up to 6 months in a plastic container.
Remarks
Some recipes say you have to maintain a certain temperature to preserve the gelatin, but I’ve found that just keeping it at a low simmer does the trick and the soup sets quite well.


